Table Of Content

It cost about $50 to make and should take you 2 to 3 hours to complete. Doing this job right will need a router, a table or miter saw, plus a drill and a wrench. Designed for small shops or garages with limited space, this workbench offers lots of impressive features, including a flip-up table, a roll-out table saw stand, a slide out panel, and overhead cabinets. You should note that the adjustable legs are metallic though, but having a wooden desktop makes the workbench better looking.
DIY Woven Leather Bench
So if you find yourself needing a large workspace then this is probably it. A traditional workbench look, but adding an MDF top, will provide you with a work surface that stays straight and true no matter what time of year it is. There is a lot of new hardware to look at for this build. Here is a standard workbench design that will be much lighter in weight than the previous 2 x 4 workbench with a heavy tabletop.
Step 11: The Base, Step Eight - Lather, Rinse, Repeat
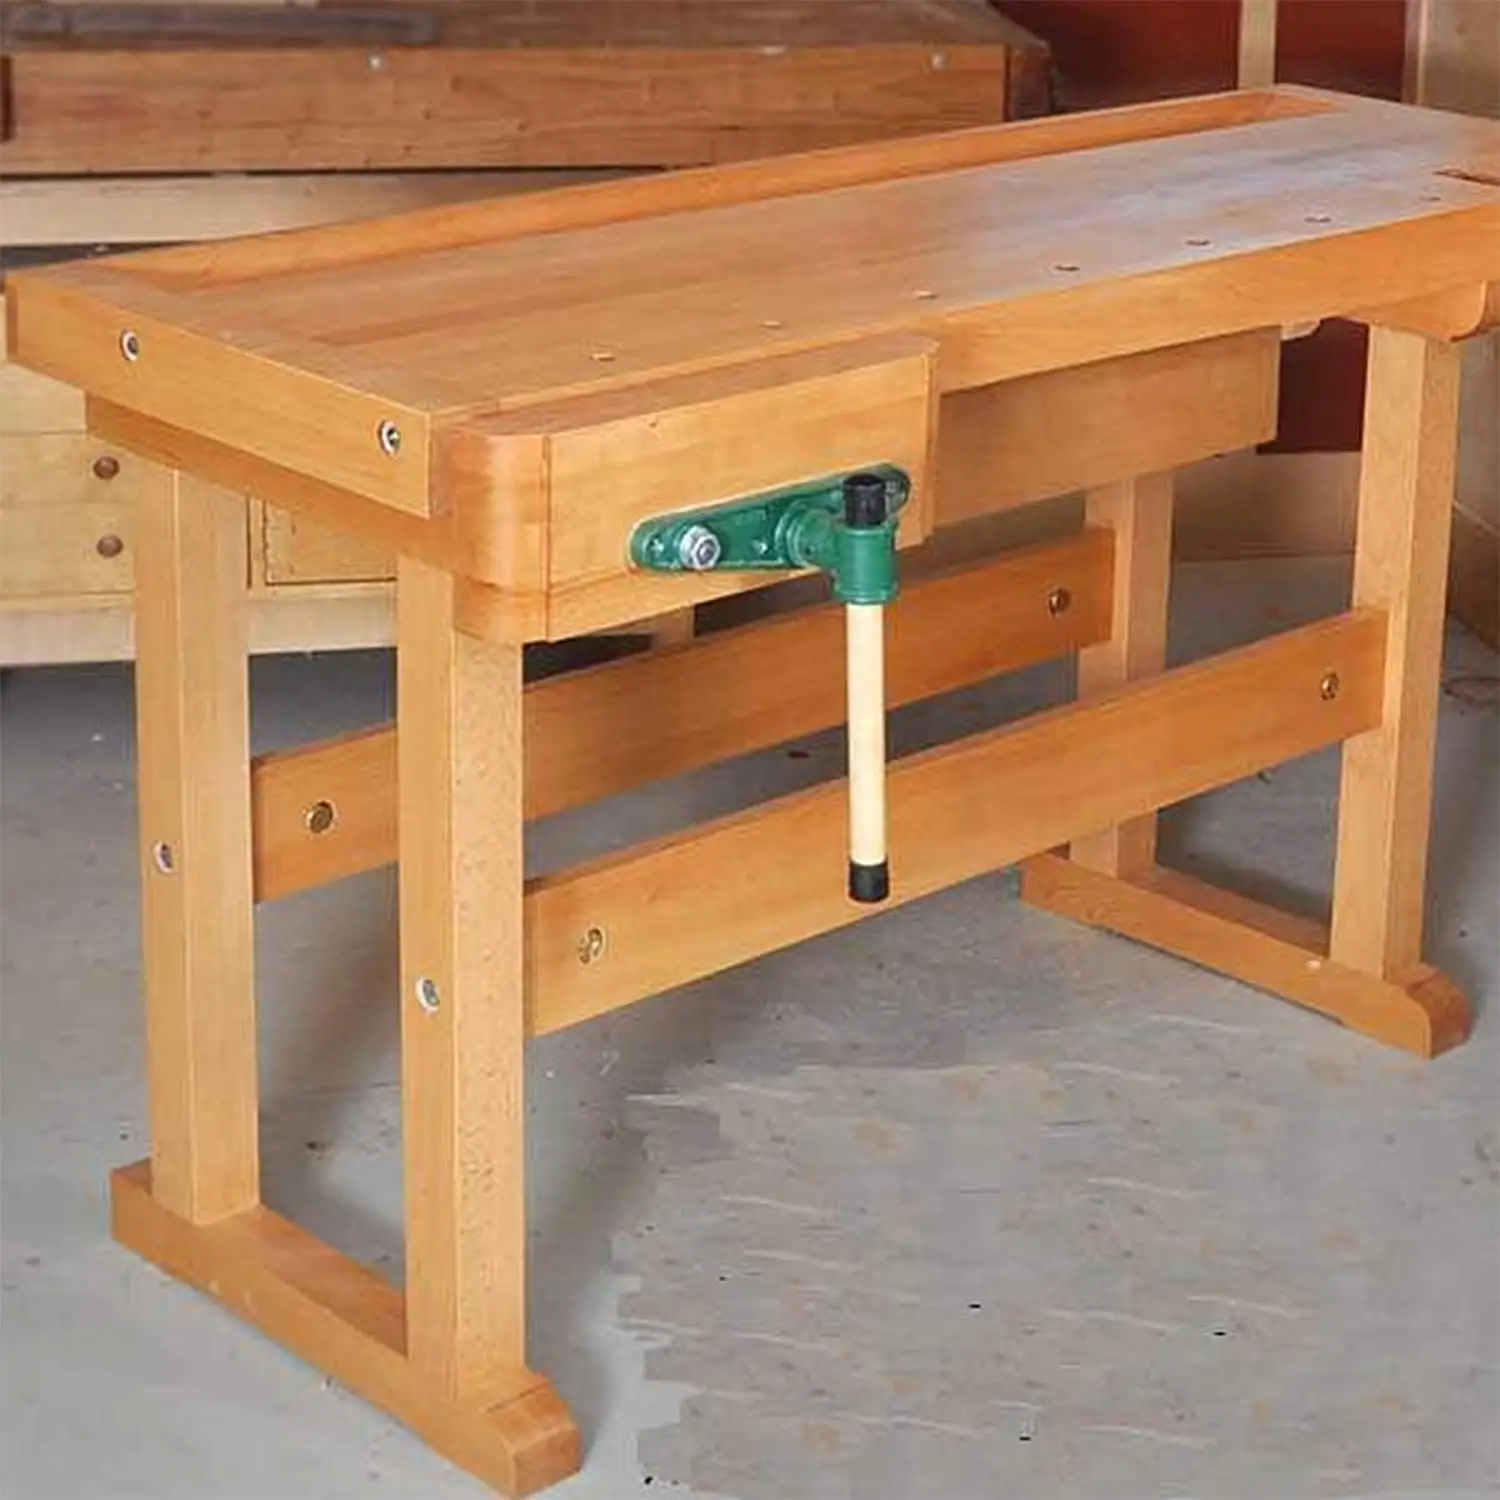
If there is one thing I have learned over the last few years as I progress with woodworking, it is that making things with your own hands is reward enough. Once you find a DIY workbench plan to start with, don’t hesitate to adjust it to fit your and your shop’s needs. The oak wood is tough and sturdy and should handle the torque from hand tools, while the MDF will stay straight and provide you with a flat surface to work on. Oak hardwood can be used wherever you would like, but it will be a necessity for the vices if you install them. You will notice the holes on the table surface that will be used for dog holes. Various dowels and pre-made components can be sourced for these holes, including bench dogs and various clamps.
Step 29: The Vises, Step Three - Gluing Up the Jaws
Standard 2 x 4 framing lumbers will be used to build up the project’s frame. You can use 4 x 8 sheets of plywood sheeting that is 1/2 inch thick for the tabletop as well as the shelves. Finally, pegboard sheets are added to this workbench to provide a vertical tool storage surface. The materials include a sheet of plywood and a box of 2 ½’’ wood screws. When itcomes to the tools you will want to utilize, these include only an impact drilland circular saw.
The plans make a large workbench that measures 16 feet long. However, you could easily adjust the workbench dimensions as necessary. For those who want a cheap and inexpensive workbench, you may want to consider this option. It has basic PVC pipes as the bottom and solid wood as the top.
Step 30: The Vises, Step Four - Cutting and Drilling the Jaws
Nevertheless,we crowned this workbench tutorial one of the easiest to grasp, with nounnecessary explanations but only actionable, practical guidance. This extremely compact workbench is 72″ wide x 32″ deep x 37.5″tall. Apart from theeasy-to-digest video tutorial, we also love the flexibility when it comes tothe possible size of this DIY project. This 50-inch bench features an oval silhouette and a vertical channel-tufted design along the sides. It’s excellent for storing blankets, linens, towels, toys, books, office supplies and more, and the skin-friendly velvet fabrics offer superior comfort.

Not only is this workbench budget-friendly but it isalso beginner-friendly, as well as time-saving. We decided to include this workbench as part of thislist because of 2 major reasons. Prices listed reflect time and date of publication and are subject to change. My functional wood art has been featured at Gallery M in Half Moon Bay and at the Los Angeles County Museum of Arts.
DIY Potting Bench with Sink
He incorporated his own design elements on a time-tested workbench design. All the joinery was cut by hand, including mitered through-dovetails on the work tray and houndstooth half-blind dovetails on the front. After doing relentless research on workbench designs, he finally settled on the Moravian workbench because he’s in a basement workshop and not sure where his career may take him. He wanted to be able to break his bench down and bring it with him wherever he goes. Outdoorsy DIY experts can test themselves by making this timber DIY workbench out of whole logs. The table legs are whole pieces of logs, while the tabletop takes more skill to craft out of whole wood.
I used to keep these off cuts and put them to the test. Detailed instruction within the videos is complimented by PDF plans, to help you succeed with your own project builds. Throughout the videos we build with minimal and basic hand tools to focus on mastering our skills with this essential kit. Below is a loose overview of the timber requirements for your English Workbench, further details are provided on the cutting list. Woodworking should be accessible, and this traditional bench build allows you to get set up properly with minimal fuss & minimal time.
This wall-mounted system not only provides you with a work surface. It will also help to hold and organize tools and small objects you want to store. This design also requires the running of standard household electrical wire as well as the installation of three electrical outlets for the power tools to plug into. As this design is also not as wide as some of the six-foot benches we looked at previously, it makes for a good addition to a small basement or garage work area. This mobile bench will require casters and the washers needed for them. The parts list also adds a variety of screws and bolts to the mix on this build.
That wider lumber will be used in the leg portions of the workbench. I bring this up as this step will not be necessary if you take your time when cutting them out. This might not be the best project to cut your first mortise and tenons on. It is worth noting that bolts and wood glue are used to hold parts in place once they are assembled.
Screws will be used as fasteners, with wood glue helping to provide extra hold should you decide to use it. No matter what size project you're building, this assembly table makes it easy to put it together. Raise or lower the table to hold projects at a comfortable working height. On the contrary, thanks to the step-by-step easy andcomplete video tutorial, anyone can build this workbench, as long as you areattentive to the details and guidance provided. Ultimately, we enjoyed all theinstructions and find these extremely helpful.
Plane beauty: Table crafted from felled trees returns to site - Montana State University
Plane beauty: Table crafted from felled trees returns to site.
Posted: Fri, 19 Apr 2019 12:56:16 GMT [source]
You get lifetime access to all video content within the course. We take you through all of the thought processes, options & techniques to help you proceed with confidence. Bench dogs, holfasts and stops can all be used within this versatile and sturdy bench. Or read here to learn why your workbench only needs one vice. See this post for advice on choosing your woodworking face vice.
The workbench also has a ton of storage space, and even includes instructions for building a rotary tray for the saw. We’re drilling out for dog holes, flattening the bench top, and making & installing a planing stop complete with spike.Then it’s time for a clean up and oil finish. The planning spike is a fantastic work aid that we build instead of a complex tail vice – I much prefer this ‘one vice’ style of woodworking, here’s a post to explain why.
If you want a workbench that you can admire, then here's another project to take a look at. While the legs here got cut to 33 inches, you should cut yours to a height which best matches you. You should know that you need a miter saw to benefit from this table. The tops of the 2 carts can be used for assembly or for sanding and finishing jobs, while their inner shelves are good for storing all kinds of tools. A 5-step guide leads you through the construction process, and a few pictures help to make the idea easier to understand. What better way to reward and encourage your little helper than to build him this simple workbench with lower and upper shelves.


No comments:
Post a Comment